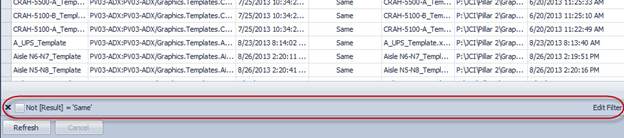
When the comparison tool is initialized and a project is first loaded, the tool has a default filter applied, displayed along the bottom of the tool pane:
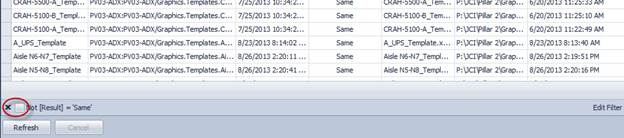
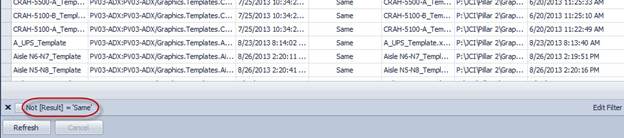
Here, there are several options for modifying the filter. At the extreme left, click the “X” to remove the filter entirely, or toggle the checkbox to activate or deactivate the filtering operation.
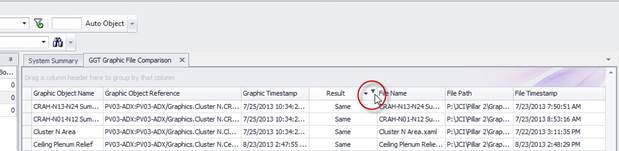
To view and choose among filters applied during past sessions, click on either the filter text itself or the small drop-down arrow to the right:
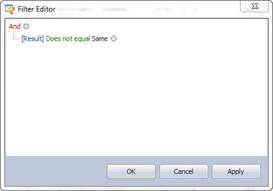
To edit the current filter value, select “Edit Filter” in the right corner of the toolbar, after which the filter Editor will pop up. Here you may add rules and conditions to select a subset of data.

Filter conditions may also be added or modified by hovering over the column headers and clicking the funnel that appears in the top right corner.